The difference between a food photo that gets likes and one that gets orders is a call to action. Most cottage food vendors post beautiful photos of their products and receive compliments but zero sales because the photo does not tell customers what the product costs, how to order, or when they can pick it up. A photo that converts includes three elements: a product shot that makes someone hungry, a caption with pricing and availability, and a clear instruction on how to order. You do not need a professional camera or studio lighting. You need natural light, a clean background, and a caption that closes the sale. Menu items with photos receive up to 70% more orders than those without, according to Grubhub data cited by Square — a number that applies to Instagram posts the same way it applies to delivery apps..
The short version: Take food photos near a window using natural light only (no flash, no overhead kitchen light). Use a clean, simple background like a wooden cutting board, white countertop, or piece of parchment paper. Show the actual product the customer will receive, not a styled version you will never replicate. Shoot from multiple angles: one overhead, one straight-on, one close-up showing texture. In the caption, include the product name, price, available quantities, ordering deadline, and how to order (link in bio or your ordering page URL). A photo without pricing and ordering instructions is marketing content, not a sales tool. For the best results, link to a Homegrown storefront where customers can see all your products and order in one tap.
Food photos on Instagram fail for one of three reasons, and none of them are about photo quality:
A customer sees your gorgeous sourdough photo and thinks "I want that." Their next thought is "how much?" If the price is not in the caption, they have two choices: DM you to ask (which most people will not do for a casual browse) or move on. Most move on. The sale dies because you made the customer work to find the price.
Even if the price is listed, a customer who does not know HOW to order will not order. "DM to order" creates friction because it requires starting a conversation with a stranger. A direct ordering link removes all friction — tap, select, pay, done. Every photo caption needs a clear next step.
Heavily styled, studio-quality food photos can actually reduce orders because customers assume the product will not look that good in person. Cottage food customers want to see what they are actually getting. A natural, honest photo of your sourdough on a cutting board is more trustworthy than a magazine-quality shot with props, professional lighting, and post-production editing.
The vendors who consistently turn Instagram photos into orders follow a simple formula: make the food look irresistible, put the price right there, and make ordering take one tap.
You do not need a DSLR camera, a lightbox, or Photoshop. Every food photo on your Instagram can be taken with your phone if you follow five rules:
Shoot near a window during the day. Natural light makes food look warm, fresh, and appetizing. Overhead kitchen lights make food look flat and yellow. Camera flash makes food look harsh and unappetizing.
The best lighting setup costs nothing: place your product on a surface near a window with indirect sunlight. If the sun is shining directly on the food, hang a white sheet or piece of paper over the window to diffuse the light. Overcast days actually produce the best food photography light because the clouds act as a natural diffuser.
If you bake in the evening and your products are ready after dark, photograph them the next morning before posting. The 12-hour delay is worth the dramatically better photo quality.
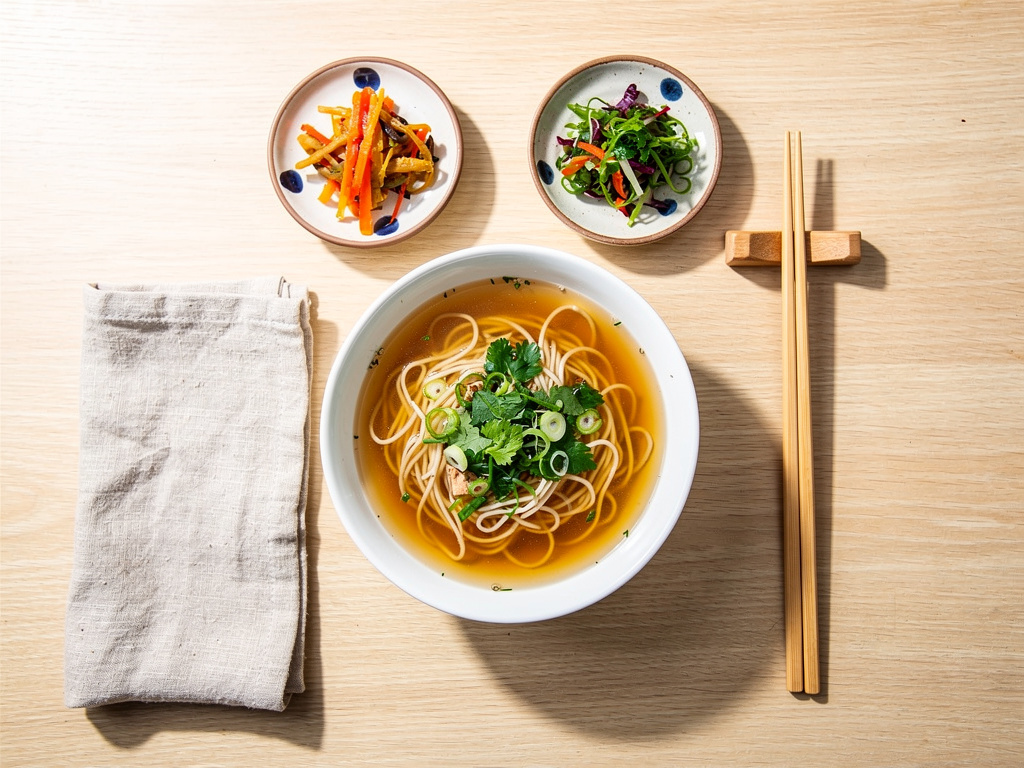
Your background should not compete with the food. The best backgrounds for cottage food photography:
Remove everything from the background that is not intentional. No clutter, no dirty dishes, no random kitchen items. Your customer should see the food and nothing else.
Take at least three photos of each product from different angles:
Shoot all four angles every time. Pick the best one for your post. Save the others for Stories, future posts, or your ordering page.
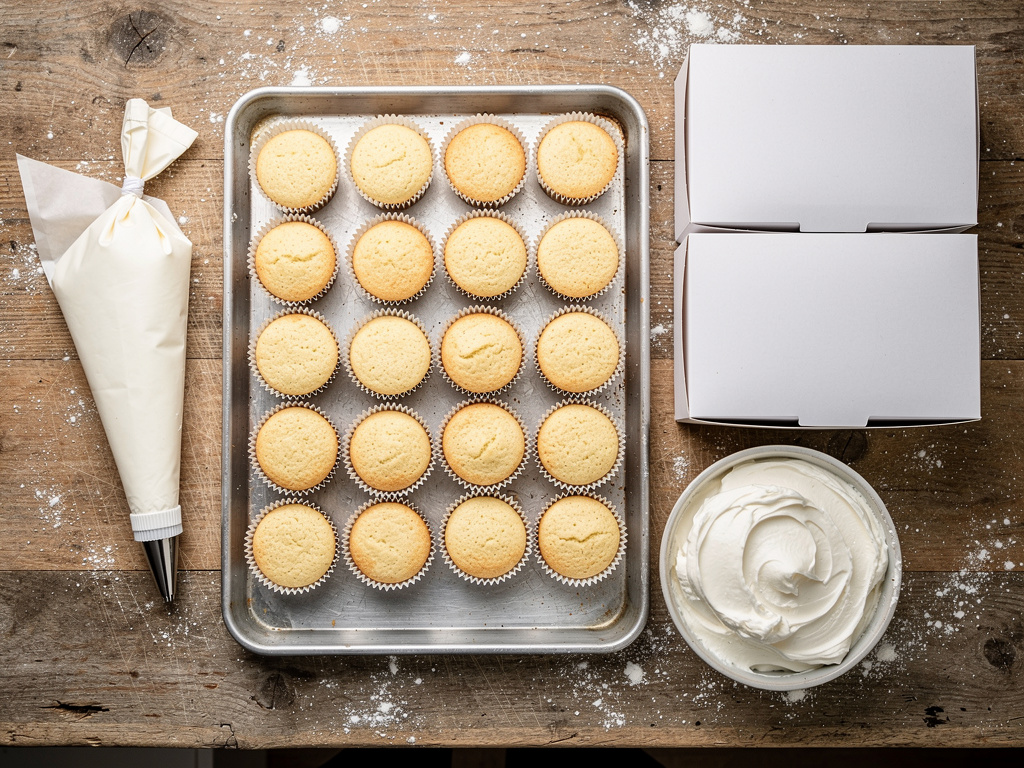
Photograph the actual product the customer will receive. If you sell cookies by the dozen, photograph a dozen cookies. If you sell jam in 8-ounce jars, photograph the 8-ounce jar with something for scale (a spoon, a slice of bread, your hand).
Do not make products look bigger or more generous than they are. A customer who orders a "large sourdough loaf" based on your photo and receives something smaller than expected will be disappointed. Under-promise and over-deliver through your photos.
Edit for brightness, warmth, and contrast only. Increase brightness if the photo is too dark. Add warmth if it looks too cool or blue. Boost contrast slightly to make colors pop. That is it.
Do not use Instagram filters that dramatically change the colors of your food. Customers want to see what they are getting. A heavily filtered cookie does not look like the cookie they will receive. This creates a trust gap that leads to disappointment and complaints.
The best editing apps for food photos are the built-in photo editor on your phone (free), Snapseed (free), and Lightroom Mobile (free version is sufficient). Spend 30 seconds editing, not 10 minutes.
Even with the five rules above, vendors make specific mistakes that hurt their photos:
Portrait mode blurs the background, which looks great for faces but makes food products look weirdly isolated. Shoot in standard photo mode so the background is slightly out of focus but not artificially blurred. Your cutting board and countertop are part of the scene.
One photo means one chance to get it right. Take 10 to 15 photos of each product from different angles with slight variations. Pick the best one. Professional food photographers take hundreds of shots for a single final image. You do not need hundreds, but you need options.
Bread that has been sitting for hours looks dense and flat. Cookies that have completely cooled lose their just-baked sheen. Jam that has been in the fridge looks dull. Photograph products when they are freshly made: bread slightly warm (steam is a bonus), cookies with a slight shine, jam at room temperature where the color pops.
Patterned tablecloths, brightly colored plates, and cluttered counters distract from the food. The food is the star. Everything else supports it. If your background draws more attention than your product, simplify.
Your Instagram grid (the 3-column layout on your profile) is the first thing new visitors see. If every photo has a different background, lighting, and style, your grid looks chaotic. Aim for visual consistency: similar backgrounds, similar lighting, similar color tones. This makes your profile look professional and intentional, which builds trust with potential customers.
A jar of jam photographed alone could be 4 ounces or 16 ounces. Place it next to a slice of bread, a spoon, or your hand to give customers a sense of scale. Size context prevents the "I thought it would be bigger" complaint that costs you refunds and reviews.
The photo gets attention. The caption closes the sale. Every food photo caption needs five elements:
Name the product specifically. "Fresh sourdough loaves" is better than "fresh from the oven." "Chocolate chip cookies with sea salt" is better than "cookies." Specificity creates desire.
Add one sentence about the product that makes it special: "Made with 48-hour fermented dough and organic flour" or "Crispy edges, gooey center, exactly like your grandma made." One line is enough. Do not write a paragraph.
State the price clearly. "$8 per loaf" or "$18 per dozen." No ambiguity, no "DM for pricing." As the FTC's social media disclosure guidelines note, transparency about pricing builds consumer trust. The price should be visible in the first three lines of the caption (the part shown before "more") so customers see it without tapping to expand.
"Only 12 loaves this week" or "15 cookie boxes available" creates urgency. Customers who know the supply is limited order faster than customers who assume it will always be there.
"Pre-orders close Wednesday 9 PM. Pickup Saturday 9 AM-noon at Riverside Market." This gives customers the timeline they need to decide and act.
"Order through the link in bio — takes 2 minutes" is the ideal call to action. It directs customers to your ordering page where they can browse, select, pay, and schedule pickup without messaging you.
If you do not have an ordering page yet, "DM me your name and what you want" works but generates conversations you need to manage. Every DM order takes 5 to 8 messages to complete — pricing, flavors, payment, pickup — which means a good photo post that reaches 200 people could generate 10 DM conversations you spend an hour managing. A Linktree page adds a click but still sends customers to Venmo or a Google Form with no product photos. Etsy charges 6.5 percent per transaction on products that never ship. Homegrown costs $10/month with no percentage fees beyond standard payment processing (2.9 percent plus $0.30 per transaction) and gives you a single ordering link where customers see your products with the same photos you posted, select items, pay, and choose pickup — all without messaging you. Homegrown does not take your photos, write your captions, or manage your Instagram account — it gives you the landing page that turns your photo posts into paid orders instead of DM threads.
Not all food photos are equal. Here are the photo types ranked by their ability to generate orders:
A close-up of your product with the price in the caption. This is the most direct selling photo. The customer sees the food, knows the price, and can order. These posts consistently outperform all other types for generating orders.
Photos and short videos of you baking, packaging, or setting up your market booth. These build trust and personal connection. Customers who watch you make products feel more confident ordering from you. Process shots generate fewer direct orders but build the relationship that leads to orders from future menu posts.
A customer holding your product, a photo a customer sent you of their family enjoying your bread, or a screenshot of a positive review. Social proof converts hesitant first-time buyers. These posts generate orders from people who have been following you but have not ordered yet.
Beautiful, heavily styled photos with props, backgrounds, and perfect composition. These get the most likes and engagement but the fewest orders because they feel aspirational rather than transactional. Use these occasionally for brand building, but do not make them your primary content if your goal is orders.
The vendors who generate the most orders from Instagram post Tier 1 content (product + price) twice per week and fill in with Tier 2 and 3 content on other days.
For more on building your complete Instagram strategy, our guide to Instagram tips for farmers market vendors covers posting frequency, hashtags, and audience building. And for using Stories specifically to drive orders, see our guide on Instagram Stories for food orders.
For optimizing your Instagram bio to support your photo posts with a clear ordering path, check our guide on what to write in your Instagram bio.
No. Every phone made in the last 5 years takes photos good enough for Instagram food posts. The difference between a good food photo and a bad one is lighting and composition, not camera quality. Shoot near a window with natural light and a clean background, and your phone camera will produce excellent results.
The best time is mid-morning (9 to 11 AM) when natural light is bright but not harsh. Avoid midday direct sunlight (creates harsh shadows) and evening (artificial light makes food look flat). If your products are ready in the evening, photograph them the next morning before posting.
Post 3 to 5 times per week for optimal visibility. At minimum, post your weekly menu with pricing (the most important post), one behind-the-scenes shot, and one customer testimonial or social proof post. Consistency matters more than volume — 3 posts per week every week beats 10 posts one week and zero the next.
Using a consistent background creates a cohesive look on your grid, which makes your profile look professional. Choose 2 to 3 backgrounds you like (wooden board, white surface, linen) and rotate between them. Consistency does not mean identical — slight variation keeps your content interesting while maintaining a visual brand.
Focus on freshness and texture. Photograph products when they are at their most photogenic: bread right after it cools (still slightly warm, maximum crust appeal), cookies right off the baking sheet (before they flatten), jam with light shining through the jar (shows color and clarity). Timing matters more than styling.
Use 5 to 10 hashtags that combine your location and product type: #AustinBaker #SourdoughAustin #CottageFoodTX #LocalBread #HomeBaked. Avoid generic hashtags like #food or #delicious — they are too broad to reach your target audience. Location-specific hashtags reach the local customers who can actually order from you.
Short video clips (Reels and Stories) are better for reach — they get shown to more people, including non-followers. Photos are better for clarity — customers can see product details, read prices, and make ordering decisions from a photo more easily than from a video. Use both: Reels for discovery and reach, photos for your weekly menu and direct selling posts.
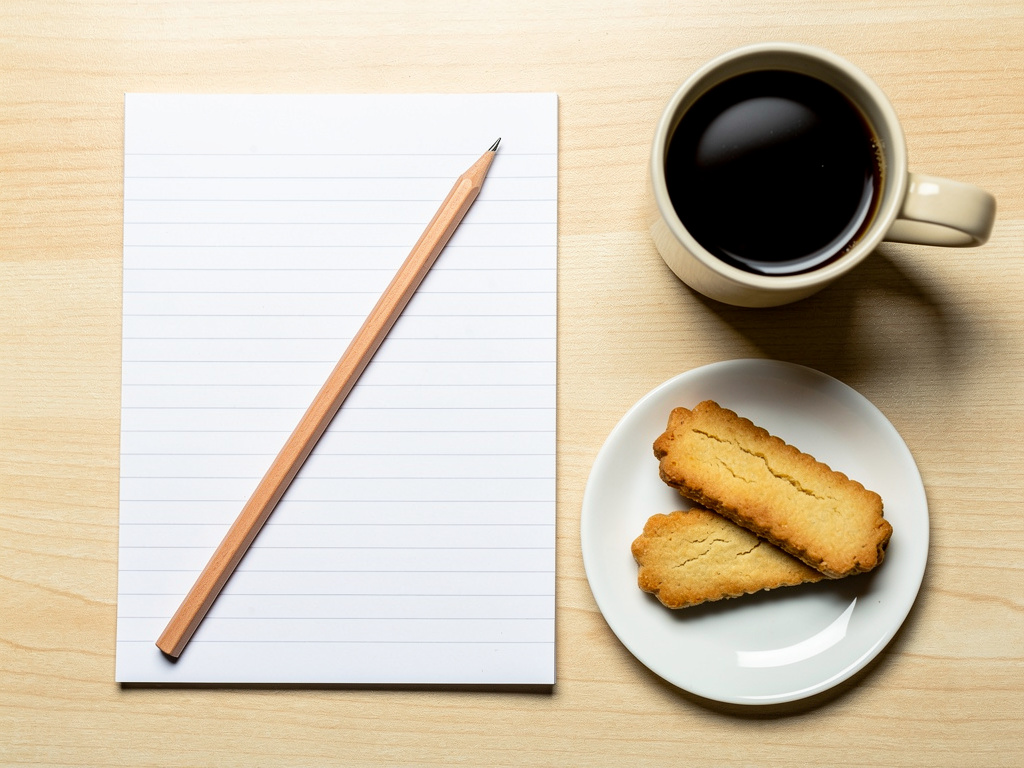
Some products — plain sourdough, jars of dried herbs, bags of granola — do not look dramatic on their own. The fix is context and composition. Place the sourdough on a cutting board with a slice cut to show the interior crumb. Put the herb jar next to a bowl of pasta it would season. Open the granola bag and pour some into a bowl with milk and fruit. Showing the product in use or partially consumed makes even plain items look appetizing because the viewer can imagine themselves eating it.